Thursday, September 10, 2015

Everyday Makeup Organization / Weekly Rotation

Morning babes I've been watching a lot of Weekly Makeup Basket videos on Youtube (from people like Glamour with Grace and I always love Pretty Pistol 86's videos). I realized that I store and rotate my daily makeup in a similar way so I thought I'd share. 
I use an acrylic organizer that I found at a Marshall's and that little purple plastic bin that you can find at just about any store (Dollar Tree, Target, etc.)


A quick note: I don't rotate my face base products very often unless I used one up (primer, foundation, concealer, powder) because I don't necessarily have an overflow of those in my collection and because the base is so important that I only want to use things that really work for me. I do have a lot of color cosmetics (shadows, blush, lip products, etc.). I rotate the colored cosmetics weekly and pick what I want to wear.
Let's start off with the things that I don't rotate or rotate rarely .. FACE BASE:
Primers
Maybelline Master Prime (Redness control one), MUFE Step 1 Smoothing, Hourglass Mineral Veil, Benefit Porefessional
Foundations
Dr. Jart Premium BB, KVD Lock-It Tattoo, Rimmel Lasting Finish, It Cosmetics CC, Estee Lauder Double Wear
Blush/HIghlight
Essence blush in "Adorable" (current blush in my Project Pan), PF face pearls (discontinued), Hard Candy "Tiki"
Concealers:
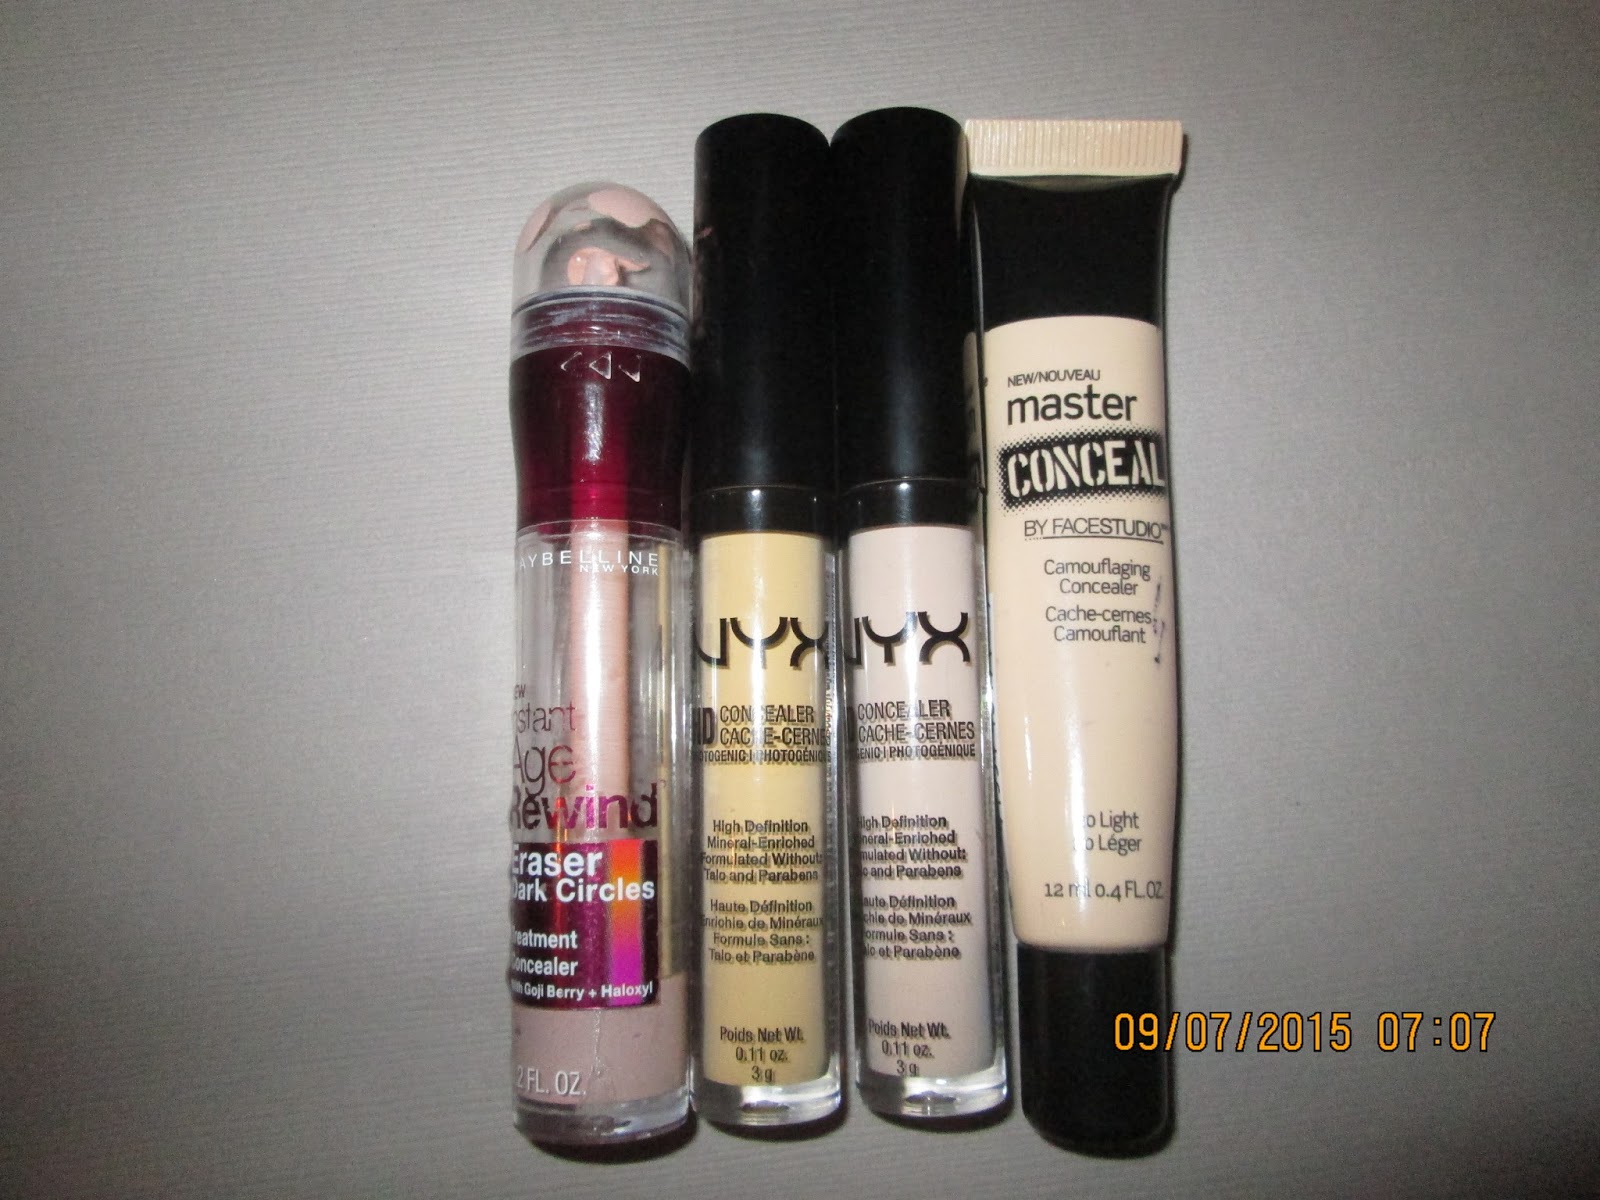
Maybelline Age Rewind in "Brightener", NYX HD in 01 and 02, Maybelline Master Conceal
Powders
WNW Bikini Contest bronzer, NYX Stay Matte but Not Flat powder, L'Oreal True Match, NYX original blush in "Taupe"
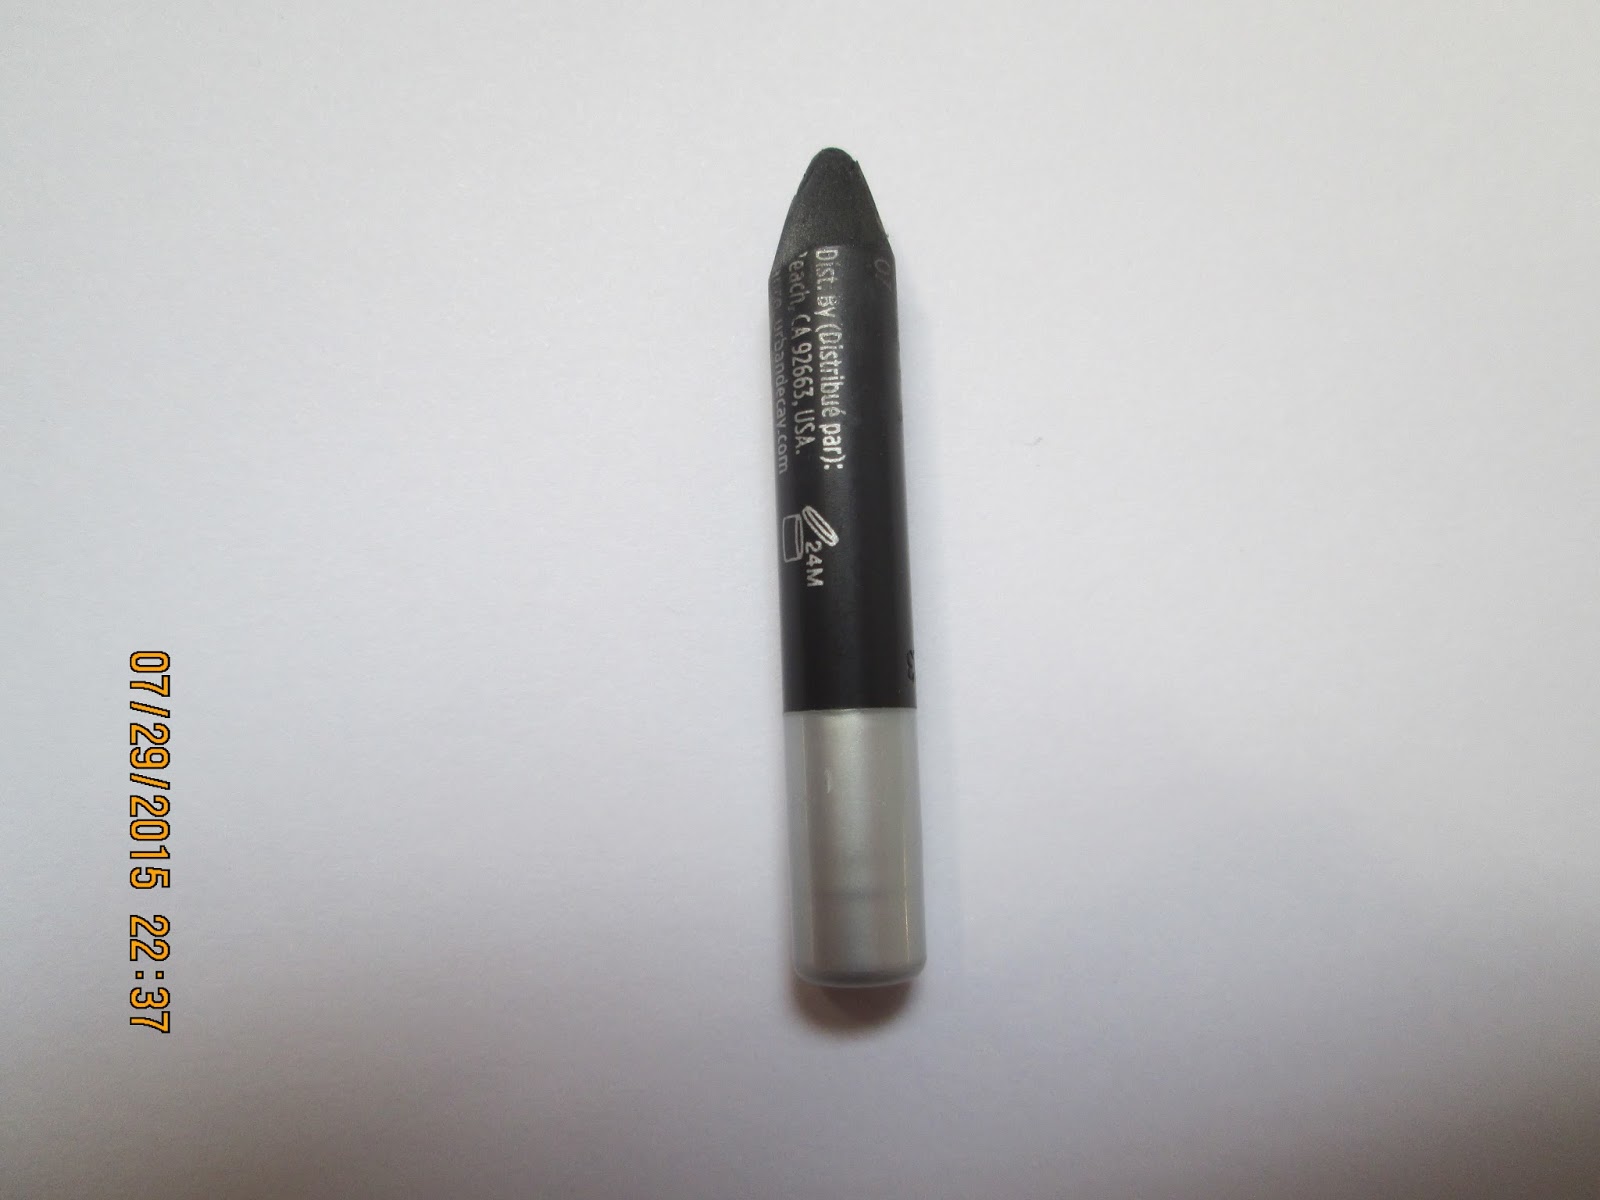
Eye bases and liners
Hard Candy Lite Brite highlighting concealer (I use as eye base see Project Pan post), Laura Geller Eye Spackle, Essence shadow stick, Cargo eyeliner (Project Pan item), Marcelle plum liner, Smashbox "Onyx" liner, 2 mini Lord and Berry liners
Eye basics.. here I keep brow products, open mascaras, liquid liners, and primers
WNW Brow Kit, Essence I <3 Extreme, Prestige My Longest Lashes, L'Oreal Voluminous Original, UD Subversion primer, Prescriptive mascara sample, elf Primer and Liner Sealer duo, NYX Jumbo in "Milk", Elizabeth Mott You're So Fine liner, NYC black liquid liner, Rimmel brow gel

And now .. the colored cosmetics!

Shadows
Revlon "Impressionist", WNW "Knock on Wood" (discontinued  heard!!), WNW LE "Standing My Campground" and "Sun-Set to See", and a face illuminizer by Vintage (ipsy find) that I sue as a shadow
My fave NYX singles
I always keep these in my organizer because these shades are so versatile.
Now for lipliners, I keep these ones in the front and my newer and similar shades behind them. Basically rotating them so I use the old ones first.
NYX "Nude Beige", Jordana "Baby Berry", Rimmel "Epic" (LOVE), Milani "Natural", NYX red, SK "Pink Whisper"
and in the back..
NYX "Nude Truffle", Rimmel "Enchantment", Essence nude 
and a random...
This is a random Honey Stick gloss ("In the Flesh" lip set) that I've used about half of and want to finish and remind myself to use. 
Lip products...
Maybelline Matte "Lust for Blush", Buxom "Amsterdam", elf Matte Lip Color "Tea Rose", Revlon "Honey" stain, Khroma lipstick/liner duo from the "In the Flesh" kit, KVD "Lolita", Rimmel Kate Moss "104", Hourglass "Child" gloss
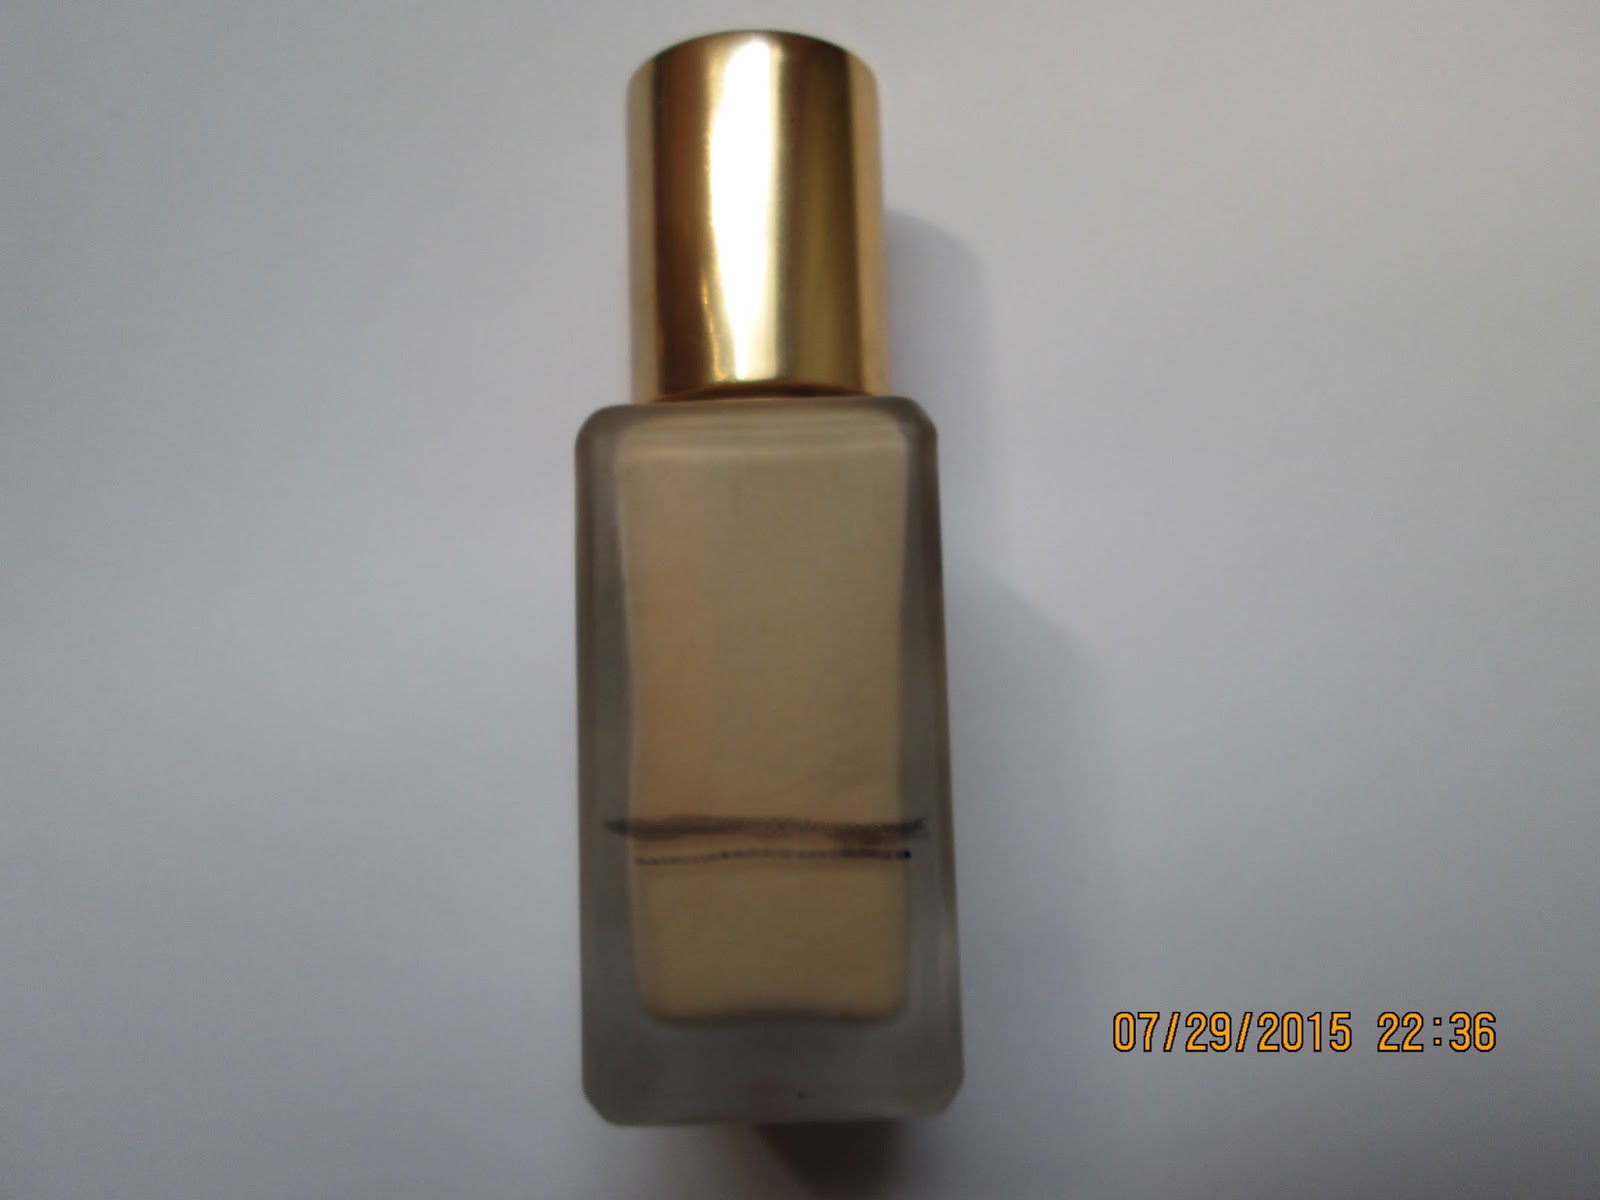
and finally
I've used up the Smashbox Primer Water but I love its sprayer so I put my Hard Candy setting spray in this bottle!

Anyways, I will be doing weekly baskets and Project Pan updates so I thought showing how I organize and rotate through my makeup would give you guys good context!
In the future, in my basket posts I will only show what I'm actually rotating through; the colored cosmetics. 
I'm thinking of doing my weekly baskets and pan updates in one post seeing as I keep my pan items in my organizer and they are mostly colored cosmetics.
Talk to you soon. :)

Monday, September 7, 2015

Project Pan - September to November

Hellloooo!! 
I am starting a new short project pan to be timed by November. 
Mainly because that's when the VIB sale rolls around and I'd like to get the things I truly want for less. 
So, I'm on a shopping freeze until then. 
I picked some products that have little left so I can just declutter. 
Up first we have the Tarte 12-hour tinted BB cream:
This has very sheer coverage and I plan on using it as a primer because it's very smoothing. Since I can't see through the tube the mark is an estimation. I can definitely see myself going through this quickly. I might use it down the neck too because I am starting to blend my foundation down there too.

Cargo Swimmables waterproof liner in "Pfeiffer Beach" (deep plum) and Maybelline's Color Whisper in "Mocha Muse" (sheer nude)


I am using paper to mark my progress on these!! :) I think this is much more convenient. As you can see, the liner is pretty new. I plan on using it as much as possible. I use it, like the other liner in my last PP, as my daily smudged out lower lashliner and on my upper lashline when I go for a more natural look (no iquid liner or wing). Tomorrow I'm actually going to use this as a shadow stick in my outer corner!
I've had the Maybelline Color Whisper for a couple years and most of it is used up. I really want to use this up because I have used a lot of it.. again like the BB, it helps to use the most used products first just to clear some space easily. Also, I like seeing myself use an entire lip product so it gives me satisfaction when I do. 

Essence's "Adorable" powder blush:
I've always wanted to pan a blush!! This seems like an easy daily color to wear, too. Perfect to pan. ;) It doesn't seem like I have made a dent in this, but I have! The usual pattern on the surface has worn away. I know I won't use this entire blush by November so my goal for this is to hit decent pan. 

Hourglass lipgloss in "Child":
I need motivation to finish whole glosses in my collection because I'm not a huge gloss girl. I think starting with a deluxe size like this will really help me to be encouraged to finish more of my glosses! Plus, this is aa pretty nude shade perfect for when I contour my lips and need something in the middle. 

Benefit's Posiebalm:
This is a really tiny deluxe sample. I redeemed 100 points for this and I think I could use this very quickly. This is one of those products that I could keep in my purse for when my lipcolor wears off and I need a little something. This is a new product (do you see how small this is??!!). I have a lot of lip balms and have been slowly working through them, so putting one in a PP will help me focus on them more. 

The rollover product from my last PP... Hard Candy's Lite Brite highlighting concealer:
As I said in my other PP posts, I don't like this for highlighting around the face as it doesn't blend well over my face makeup. But, it hit me.. I can use it as an eye base for shadows!! It covers my lid discoloration, and brightens. Yay!! I have a hard time finding a brow bone highlight because I'm so fair. So I put this all over the lid and set it with a NYX "Whipped Cream" (matte white, or an offwhite color). Setting it with a shadow makes everything blend a little easier. 
I will be back with updates! 
Please keep in mind that I am a highschool senior and I work 10 hour shifts over the weekend so I will try to update in a week.

Wednesday, September 2, 2015

Project Pan Finale - Finish by September - Did I complete it?!

Hello :)
I am here to update you with my project pan that was timed to end in September. 
I didn't finish everything but they may be rolling into my next project pan.
First...
Estee Lauder Double Wear foundation: 
The lowest mark is where I am at. 
I don't like this foundation by itself. In fact I hate it.
I have to mix it and it's not terrible when mixed. I like using a little bit of this to add more coverage and yellow out other foundations. 
If this wasn't $37, I would probably toss it. But for now, I am mixing it with KVD Lock-it Tattoo foundation. I'm making myself use this up, and a few others, before I try a new foundation.

Benefit High Beam:
I knew I wasn't going to finish this up. The product sticks to the jar it comes in and won't settle to the bottom!! I found this didn't blend well over my foundations anyways. I am tossing this. I was mostly frustrated because I couldn't mark any progress!

Benefit Some Kind-A-Gorgeous foundation "faker":
I finished this product very early on. I already hit decent pan, and I used this as a cream bronzer around the face so I was using a decent amount each time. 
I wouldn't repurchase this, especially for its intended use as a foundation. I don't like the way it feels, it's orange-based, and has no coverage. 

The Balm's BalmGirls lipstick in "Mai Billsbepaid":
I really loved this shade on my lips. It was a nude with a slight purple tone. It was a cream finish, too. To use this up faster I used it as a blush.

Urban Decay 24/7 Glide On eye pencil in "Smoke":
This was a deluxe sample. I used this as top liner occasionally, but as a lower lashline (smudged with shadow) liner. If this was black, I would've completely finished this off, but I can't sharpen this anymore so I'm calling quits with this one.

Hard Candy Lite Brite highlighting concealer:
This didn't blend well over my foundation. I'm rolling this into my next project and I plan to use this as an eye base for shadow. :)
Coming up next will be my new Project Pan timed to end around November.


Monday, August 10, 2015

Review: Sealed with a Kiss Lipstick Fixative

Hey guys! I was at a local Sally's Beauty Supply and this product was so interesting and unique and for $4.99 I thought it'd be interesting to try.
The claims: 
"Makes lipstick: smear proof, smudge proof, and kiss proof".
As you look at the applicator above you can possibly see the fault... excess lipstick will be stained on the rollerball,, and you can't well, wipe it off because the ball just keeps rolling. 
Side by side little comparison.
The left is the lipstick alone and the right is it topped with fixative.
I find the fixative to sheer the color slightly/make it washed down a little. I would worry about this if you have an issue with lip products bleeding. Mainly because it makes the lip product more wet, but this fixative is made with alcohol so it will all dry quickly anyways.

I wiped away my swatch and was pleasantly surprised to see that the fixative left a little stain!
*
For the test, over several days I applied lipsticks of various formats and shades. I've noticed that lipsticks with less moisture/shine work better with this fixative (makes sense.. harder for the fixative to penetrate through excess moisture).
Lipsticks I tried this with: Covergirl Lip Perfection formula (the vibrant shade featured in the swatches above), TheBalm's Balm Girls formula (the lighter of the two in swatches), and Wet n Wild's Mega Last in "Mochalicious".
I chose 3 shades from a nude to a deep reddish brown.
*
Overall, I was extremely disappointed with this product.
- I can't see it locking in a lipcolor for an entire day without touch-ups.
- "Kiss proof" claim:  While the fixative worked to make my lipsticks relatively "kiss proof" (it did not transfer onto tissue when blotting), once eating I was disappointed to see my lipstick was crumbling off. Important to note that I wasn't eating very oily foods either.
- "Smear proof" and "smudge proof" claims:  I found these claims almost already disproved from the start seeing how the applicator sheered out the lipsticks, seen in the pictures above.
The real fault in this product is its applicator. It is so hard to get moving for the product to come through and while applying it creates a very patchy finish due to uneven application from the rollerball style.


Thursday, July 30, 2015

Project Pan Update #1 - 10 days in

Hi guys, I just wanted to apologize on my initial Project Pan post where the pictures didn't upload properly. I marked where I was though so that shouldn't matter too much.
Here's the progress..

 I am moving slow and steady with Estee Lauder Double Wear (sigh). I use a drop or two of this and mix it with something as my foundation. Usually I mix it with Kat Von D's Lock-It Tattoo foundation or Dr. Jart's Premium BB cream.
There's only one mark on High Beam because I can't really see the progress as the product never really settles to the bottom of the bottle which is annoying. I worry about this product because the applicator doesn't even reach the bottom of the jar, so how will I finish it.. I might use cotton swabs if I have to.
I knew Benefit's Some-Kind-A-Gorgeous would go nice and quick. Almost done with this as you can tell. I've been using it as a cream bronzer.
Ugh this Hard Candy Lite Bright concealer drives me crazy. Maybe I got a bad one though because @makeupismyjam raves about it. Hm. I mark it where the stopper is. I haven't made too much progress seeing as I only use this on the tops of my cheekbones, then layer High Beam over it. I find this way too thick and difficult to blend.
I can't tell too much progress on this Urban Decay liner in Smoke. I use it everyday (for like the past 4 months) on my lower lashline and smudge it out with shadow. It is going slower than anticipated.
I've made a little progress on this but I can't really mark it because I use it from the more sloped side and the other side too in an effort to flatten it out. I use this daily on lips and cheeks.
Overall, I'm doing great I just find it hard to mark a few things. I've seen others mark liners and lipsticks against a paper but I don't really like it that way. I might do that for my next PP with more lipsticks.

Monday, July 20, 2015

OFFICIAL PROJECT PAN - FINISH 6 BY SEPTEMBER

Hello! I am doing a Project Pan. 
If you do not know, a Project Pan is when you choose items that you want to use up and you don't buy any makeup until you finish all of the projects. Now last summer I had a Project 20 Pan (or around 20), and I found my goal unrealistic. I finished few products and found myself left unmotivated. This time I around I have rounded up 6 products and I have decided, as seen in the title, that I'd like to finish this by September. 
Here are the products I'd like to use up!
Estee Lauder Double Wear foundation
Why I want to use it up: I was overall disappointed in this foundation, and bought it due to the hype. For someone with my skin issues (acne, dark circles, uneven texture) this is certainly NOT full coverage like I kept hearing!! It also looks very cakey on me even when I use so little.. mixed this with other BB's and foundations. There's no winning with this for me. The finish makes me insecure I just want this done..
I have about a fourth of the bottle left. 
TheBalm's Balm Girls lipstick in "Mai Billsbepaid"
Why I want to use it up: Unlike the foundation, I really like this lipstick. It has a cream finish and is a nude but a "my lips but better" nude. I have too many lip products and the concept of finishing a lipstick seems satisfying to me I would like to slowly do away with a lot of the ones I don't like through Project Pans. I've been using this on my cheeks too to help speed up the progress. 
I am confident with consistent use I can finish this lipstick!!
Urban Decay Glide-On eye pencil in "Smoke"
Why I want to use it up: I like how smooth this glides on but I have a lot of pencil liners and would like to cut the number significantly. I prefer liquid liner on the upper lashline but I've been using this on the upper and lower lashline (smudged out with shadow). This gives enough definition but I use my liquid liner to do a wing and have it fade to the softer pencil look. 
I hope to finish this but I am not sure. I do still have a few sharpenings left until the end!
Benefit's High Beam
Why I want to use it up: I have too many liquid luminizers and these little Benefit samples are clogging up my collection. I use this on my cheekbones and cupid's bow, but not too much. I find it to disrupt my foundation sometimes. 
I think I can definitely use this up by September!
Hard Candy Lite Bright concealer
Why I want to use it up: I hate the formula, it's so odd. It's whipped yet so thick and a little too hard to blend out for a highlighting concealer in my opinion. It disrupts my coverage beneath!! So, I can only use this to highlight where my skin doesn't look terrible.. I mix this with High Beam on the cheekbones so that I can use both daily and finish them off. Together it gives a BAM highlight. 
I think I can use this up in conjunction with High Beam!!
Benefit Some Kind-A-Gorgeous "foundation faker"
Why I want to use it up: I find it obnoxious how this is marketed as a foundation when this is so orange in tone on the skin. UGH. I just want this out of my life. I use this as a cream bronzer. Because it is more orange, I can get away with this around the hairline but not on the cheeks. 
I am determined to use this up!!!!
There's my Project Pan! I find these posts very interesting so link me to your blogs or tag me in social media to show me!
My Instagram is: @makeupbyemilyy
Thanks for reading! I will be posting my makeup empties post next week!

Thursday, June 25, 2015

How I've Been Doing My Makeup - Foundation Routine and New Techniques :)

Hey!! I had my last day of finals yesterday the 23rd!! Woo!! I saw a frequent reader, Lisa, request some of my summer makeup tips. I recently settled into a fab routine for my face makeup so I thought it's the perfect season to share how to get an amazing base. :)
Step 1: Prep
It's always important to remember that what you put under your makeup directly affects the longevity of your look. I have fallen in love with this moisturizer!! I was matte the entire day when I used this. I was simply amazed. I sampled this from Birchbox and may buy the full-size.. once I gulp the $60 price. In short, use one that cooperates with your makeup.

Step 2: Foundation
Recently, I've been using my KVD Lock-It Tattoo Foundation. I want to review this but can't figure out how I feel. I only use one pump of this foundation (any foundation for that matter) to make sure I have the most natural look. A nice thin layer of foundation will help you gauge what really needs to be covered (never conceal first). For this time of year a fab BB cream is the Dr. Jart Premium BB cream (pictured) and the Detox BB. I find these to be the most longwearing out of the BB creams I have tried. In terms of application, I use a buffing brush for foundations and hands/sponge for BB's.

 Step 3: Conceal


Concealer application can make or break your entire look; it has to look just right or it will emphasize your imperfections. I get the perfect look using these 3 Maybelline concealers and a damp sponge. The dampened sponge is. It will take away excess concealer and gives a nice soft look to concealer. The key I think is to use the disposable, latex-free, sponges. I find the latex-free ones to be smoother and softer (a far more even application), and less porous (won't soak up too much concealer). I've been really enjoying these 3 concealers. I use the Master Camoflauging concealer for blemishes in a patting/stamping motion with the dampened sponge. I use the Dark Circle Eraser in Neutralizer first underneath my eyes. It has a beautiful yellow tone to hide my purple circles. Then, to brighten I use the Brightener shade over it. I use a light amount to brighten so as not cake the delicate/thin area of the undereyes. I do use the same sponge for the neutralizing and brightening. :) I set this with the highlighter side of the new Wet n Wild Contouring palette in Caramel Toffee (I believe it is only sold at Walmart and I definitely recommend it; the contour is nice and cool!!). 

Step 4: Set things straight
I always set my foundation. I've gone back to my fave powder as of yet, NYX Stay Matte but Not Flat. :) I use the e.l.f Powder Brush; a flat top kabuki kind of cut. I use a patting motion to lock the makeup in place. I find the patting technique so crucial you will get max coverage out of your powder and minimize creasing. 

Step 5: Something a little extra..
Recently, I picked up this Hard Candy Fast & Fabulous setting spray and at first I didn't think it did much but I have fallen in love!! I will spray this when I finish concealer (before powder) and then once more after I set my whole face. I really think this takes the powdery look from my face and freshens things up. I really like this spray!! :) 

Thanks for reading I think a few major takeaways for my recent routine is: moisturizing the right way, the dampened sponge (latex-free), and the setting spray.
Quick question: I could never get my Beauty Blender to give me a better look than these sponges. I have the pro one (the black sponge) and I'm not sure if that is different than the pink one in any way.. anyone know?

I'll be posting again soon! Bye for now. :)